
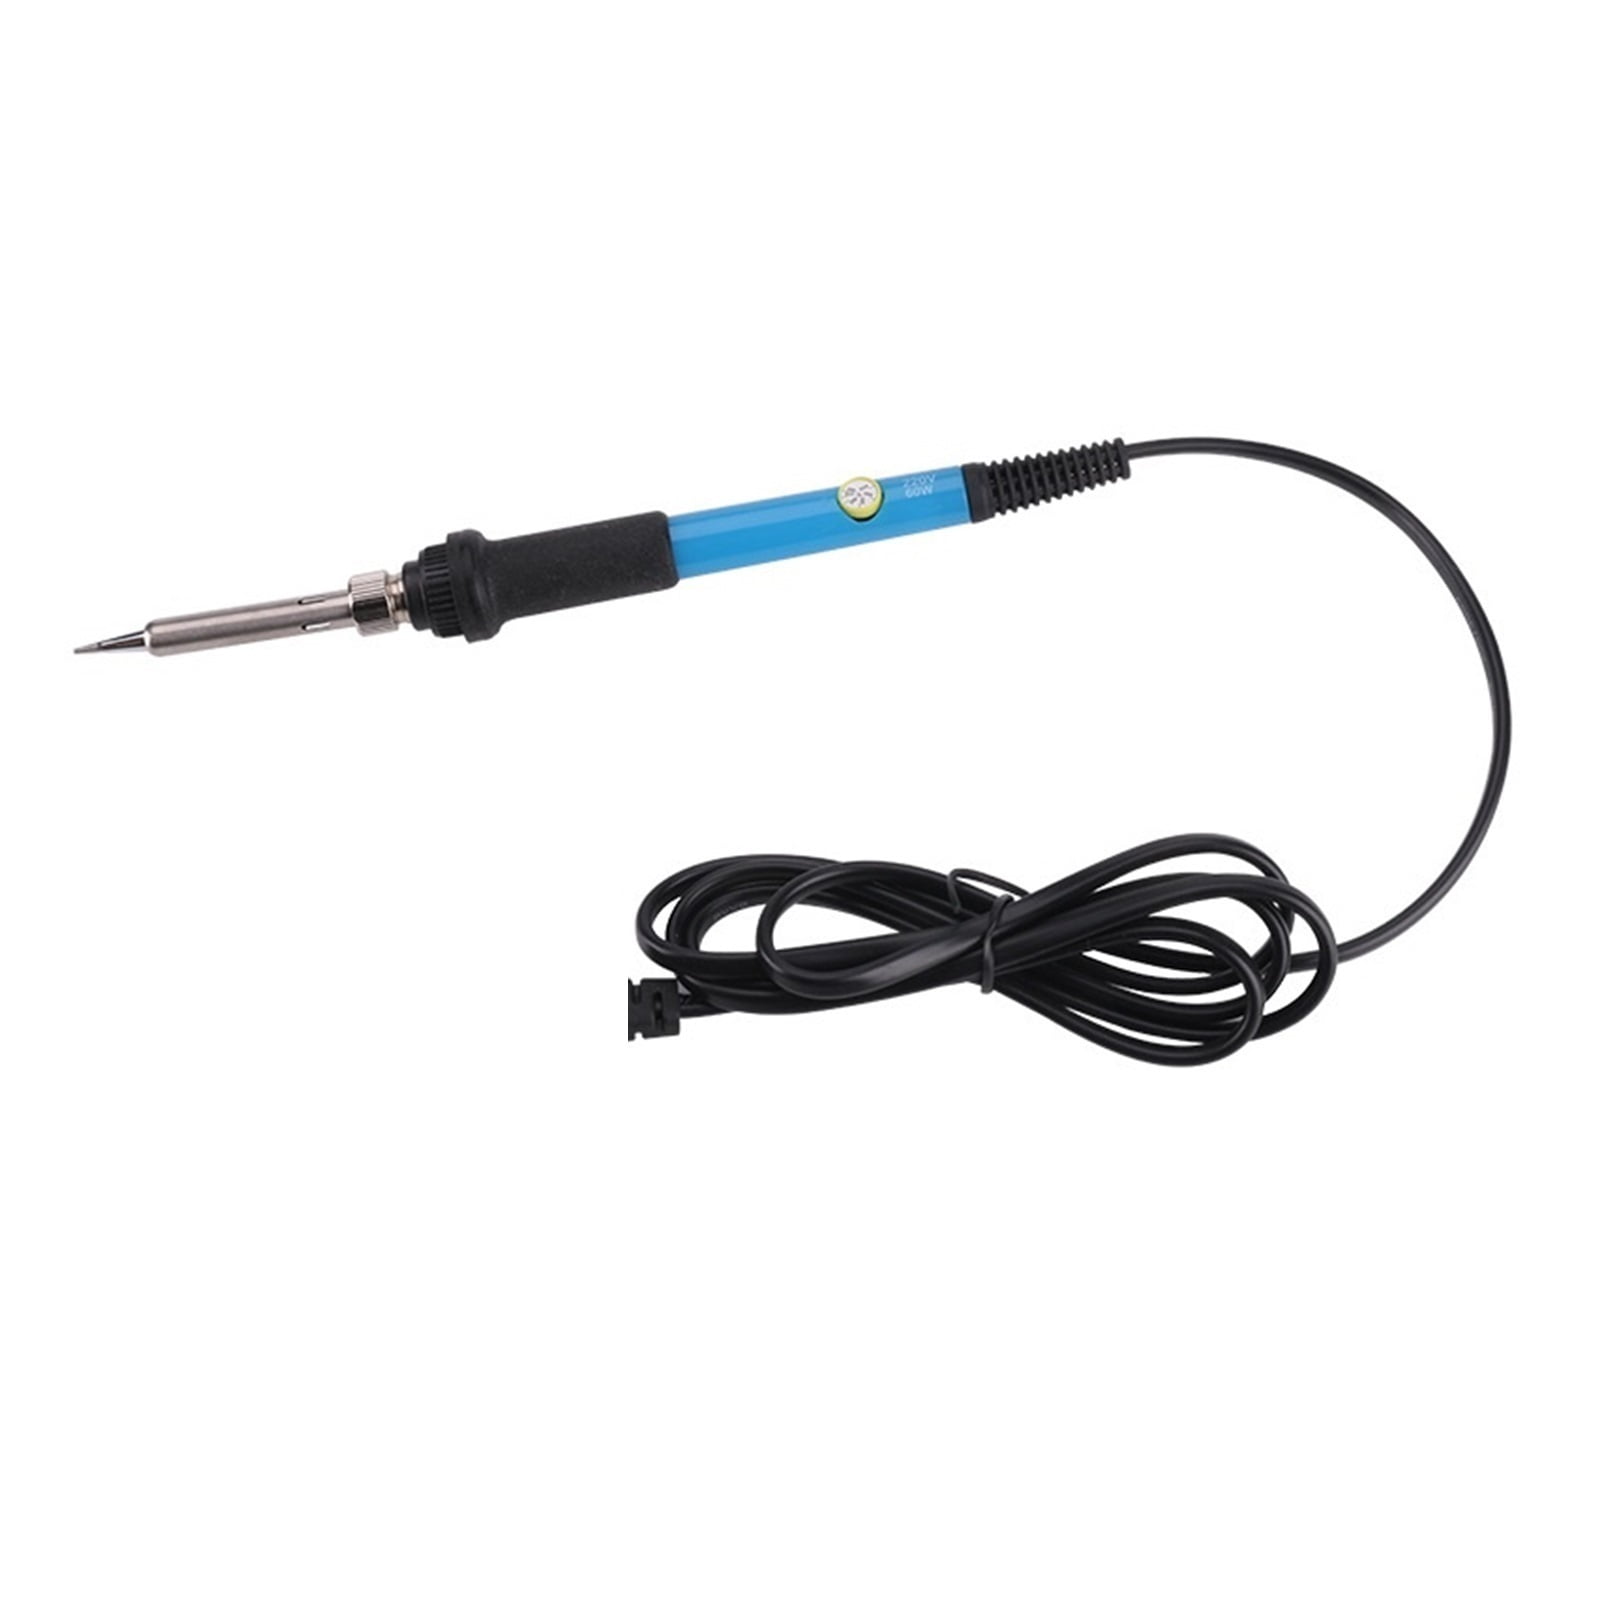
Soldering Iron, 60W Adjustable Temperature Electric Solder Iron, Rework Station Mini Handle Heat Pencil Welding Repair Tools
Product details
| Management number | 230871373 | Release Date | 2026/06/18 | List Price | US$17.81 | Model Number | 230871373 | ||
|---|---|---|---|---|---|---|---|---|---|
| Category | |||||||||
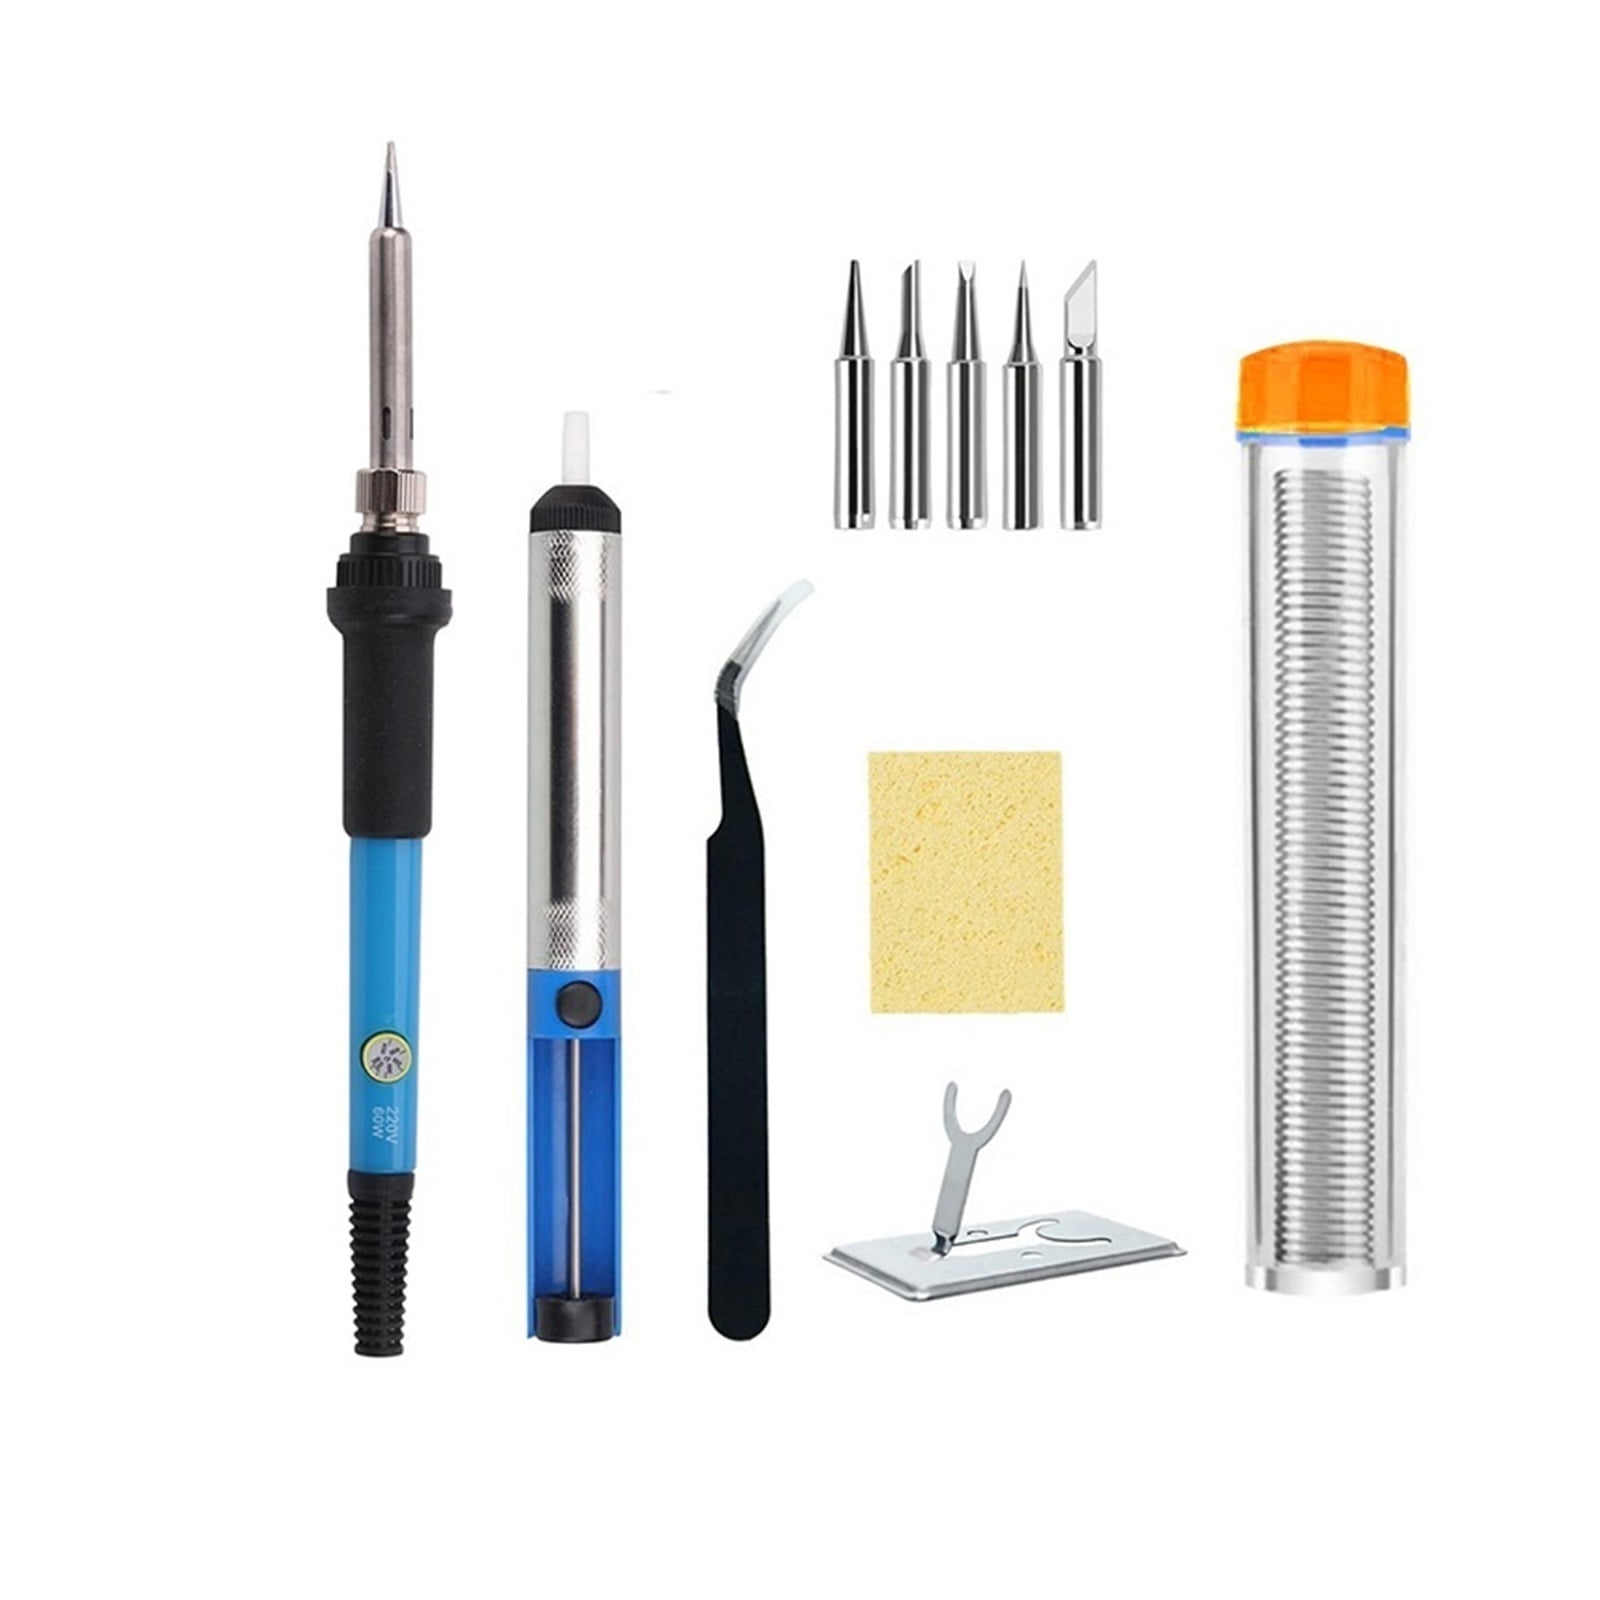
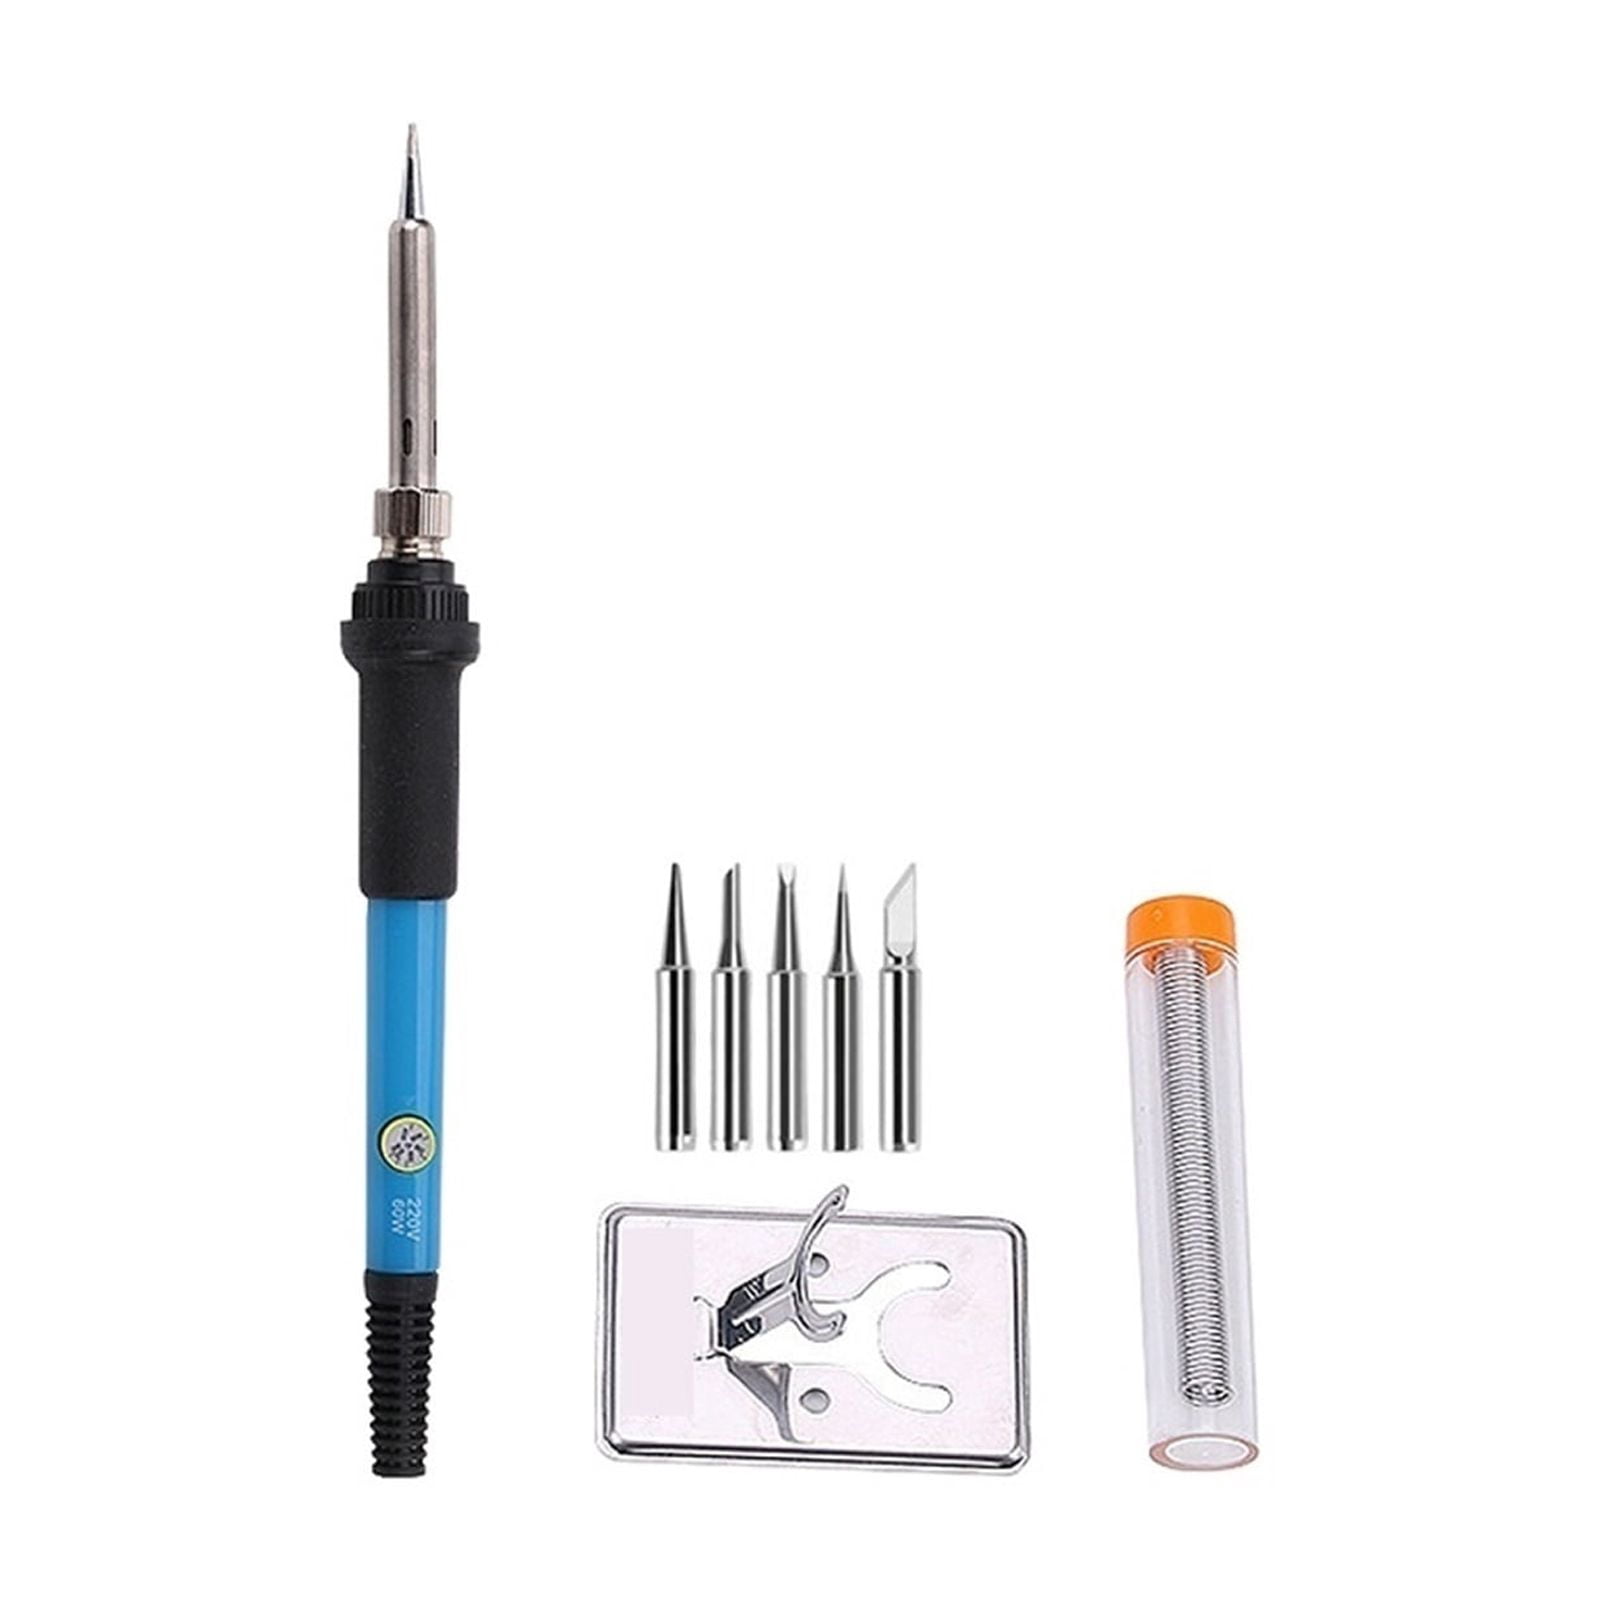
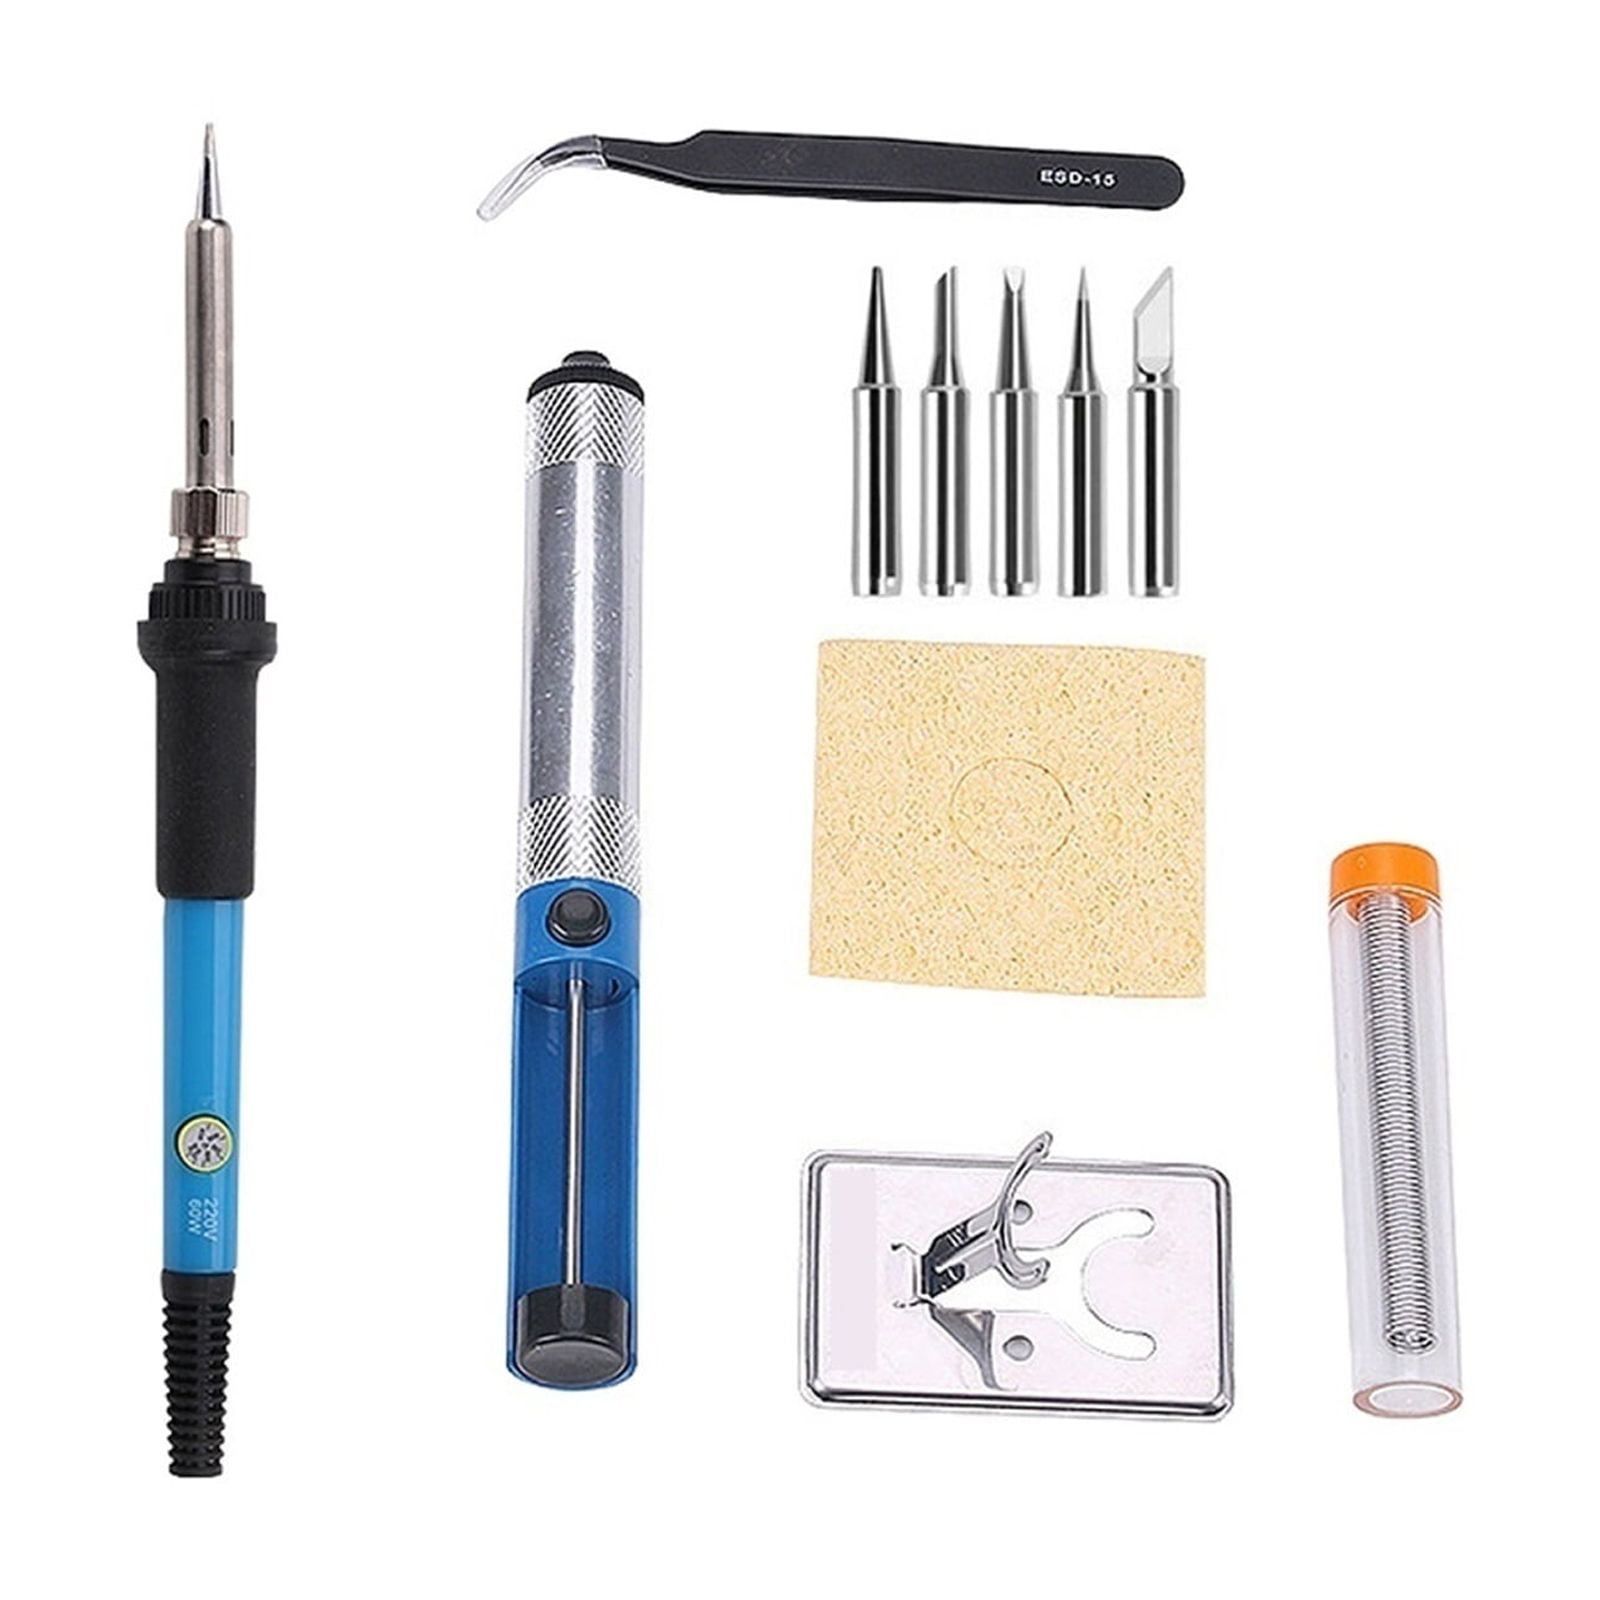
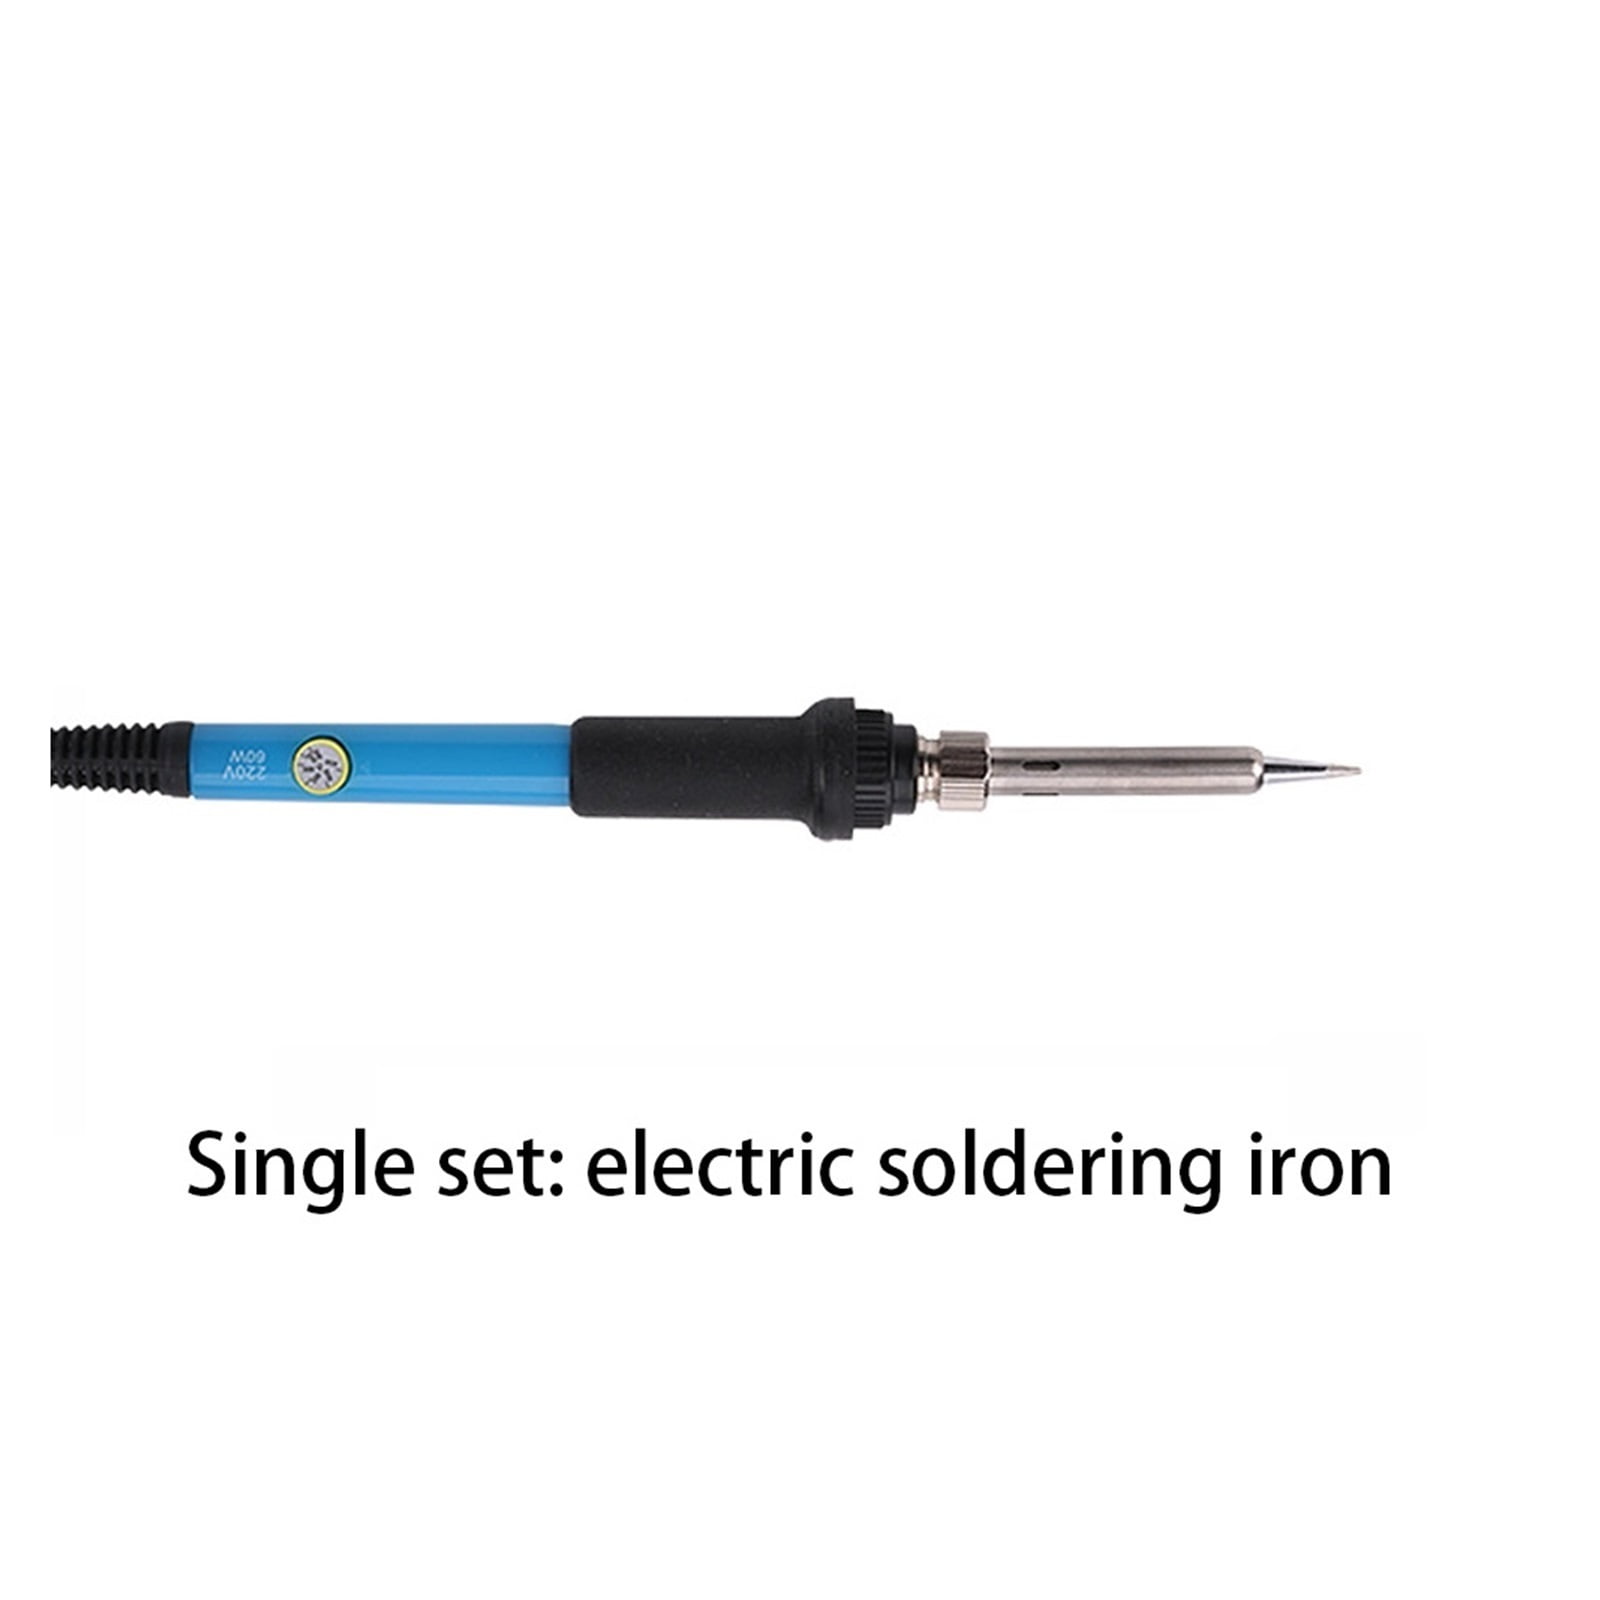
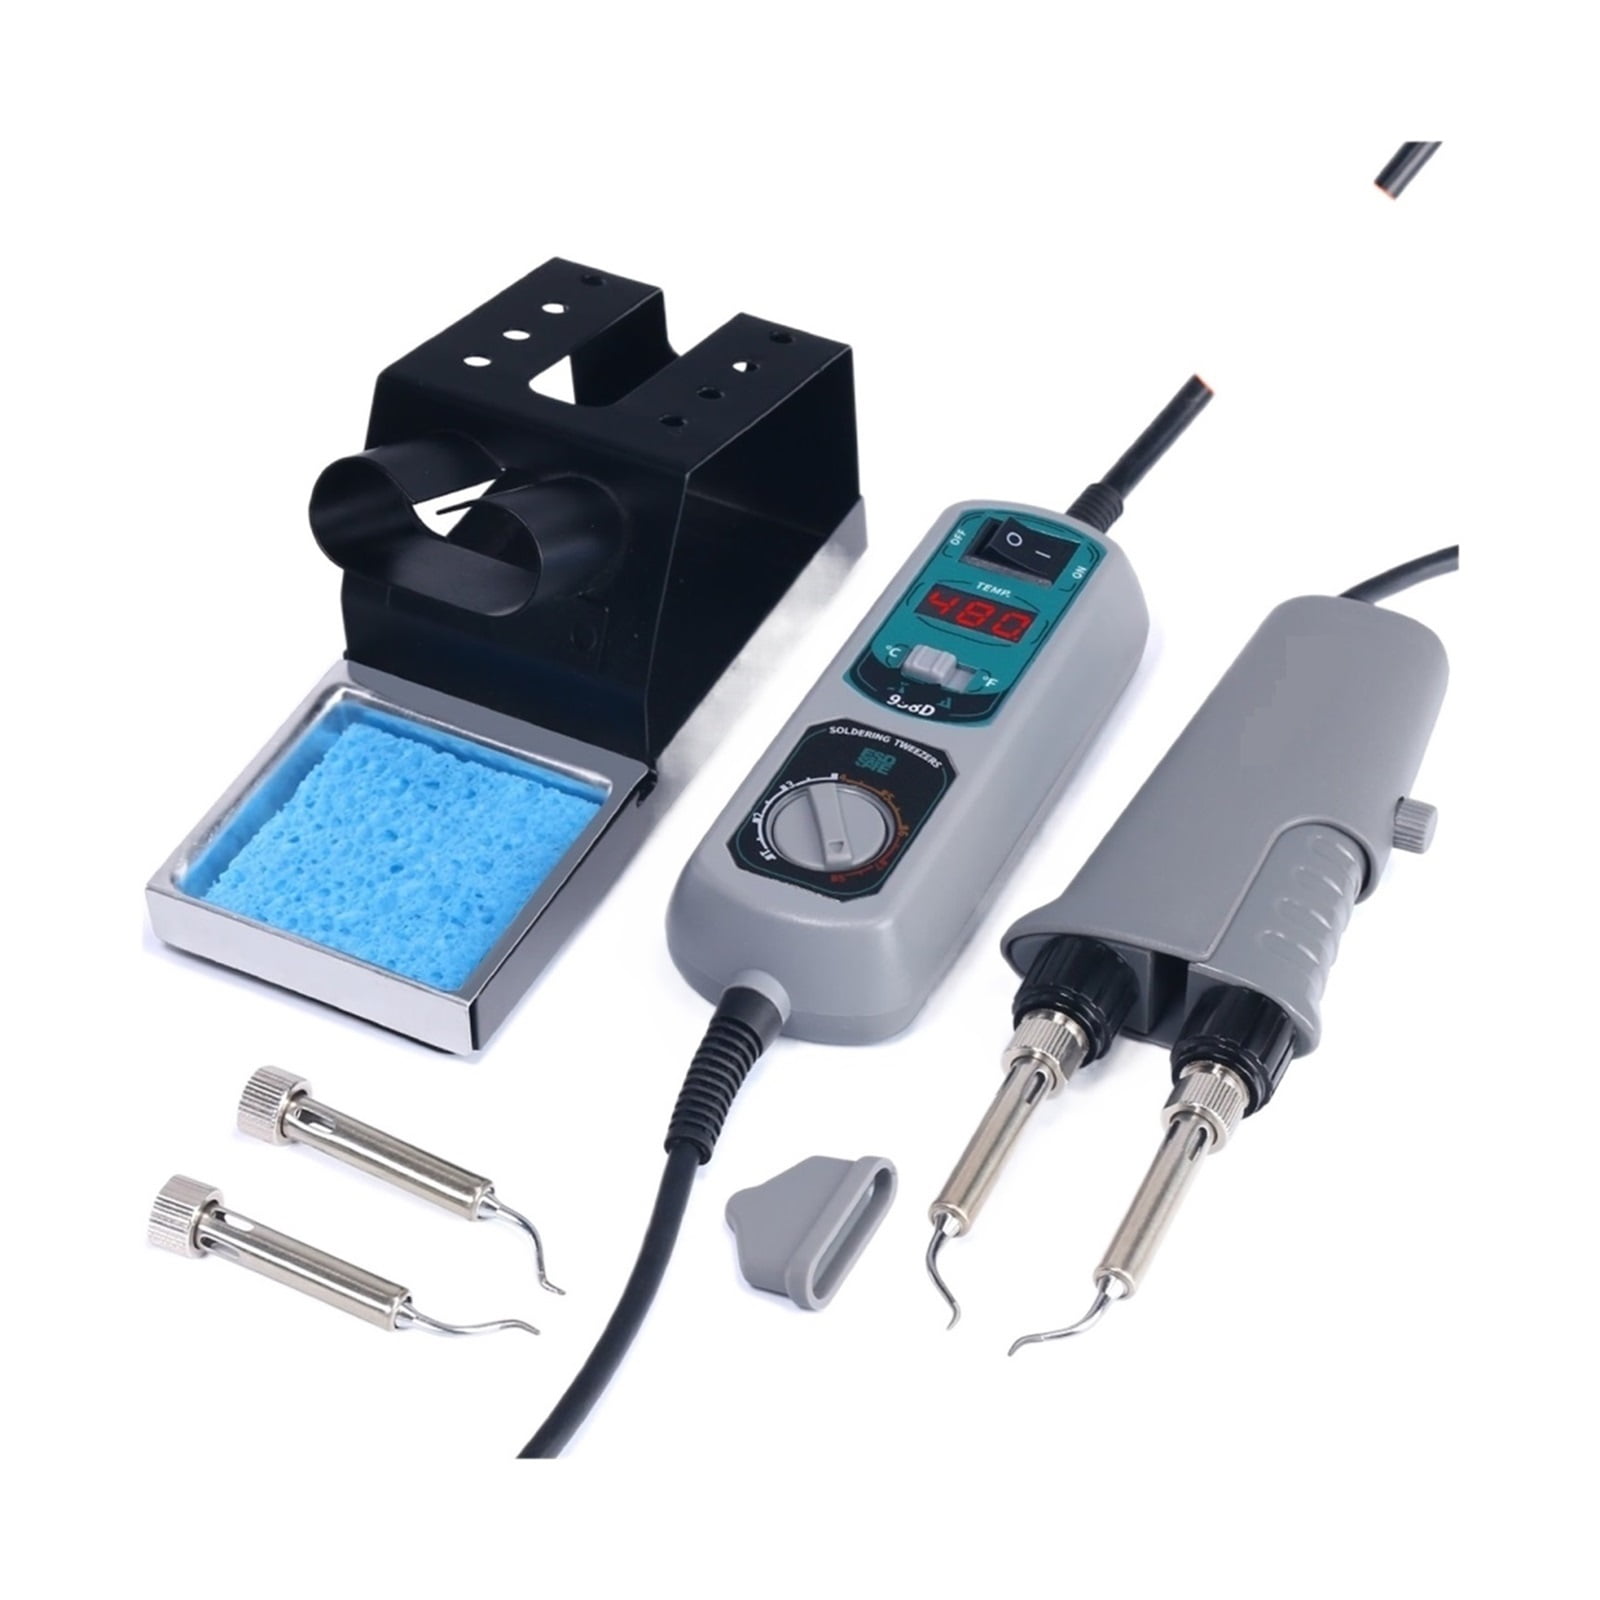
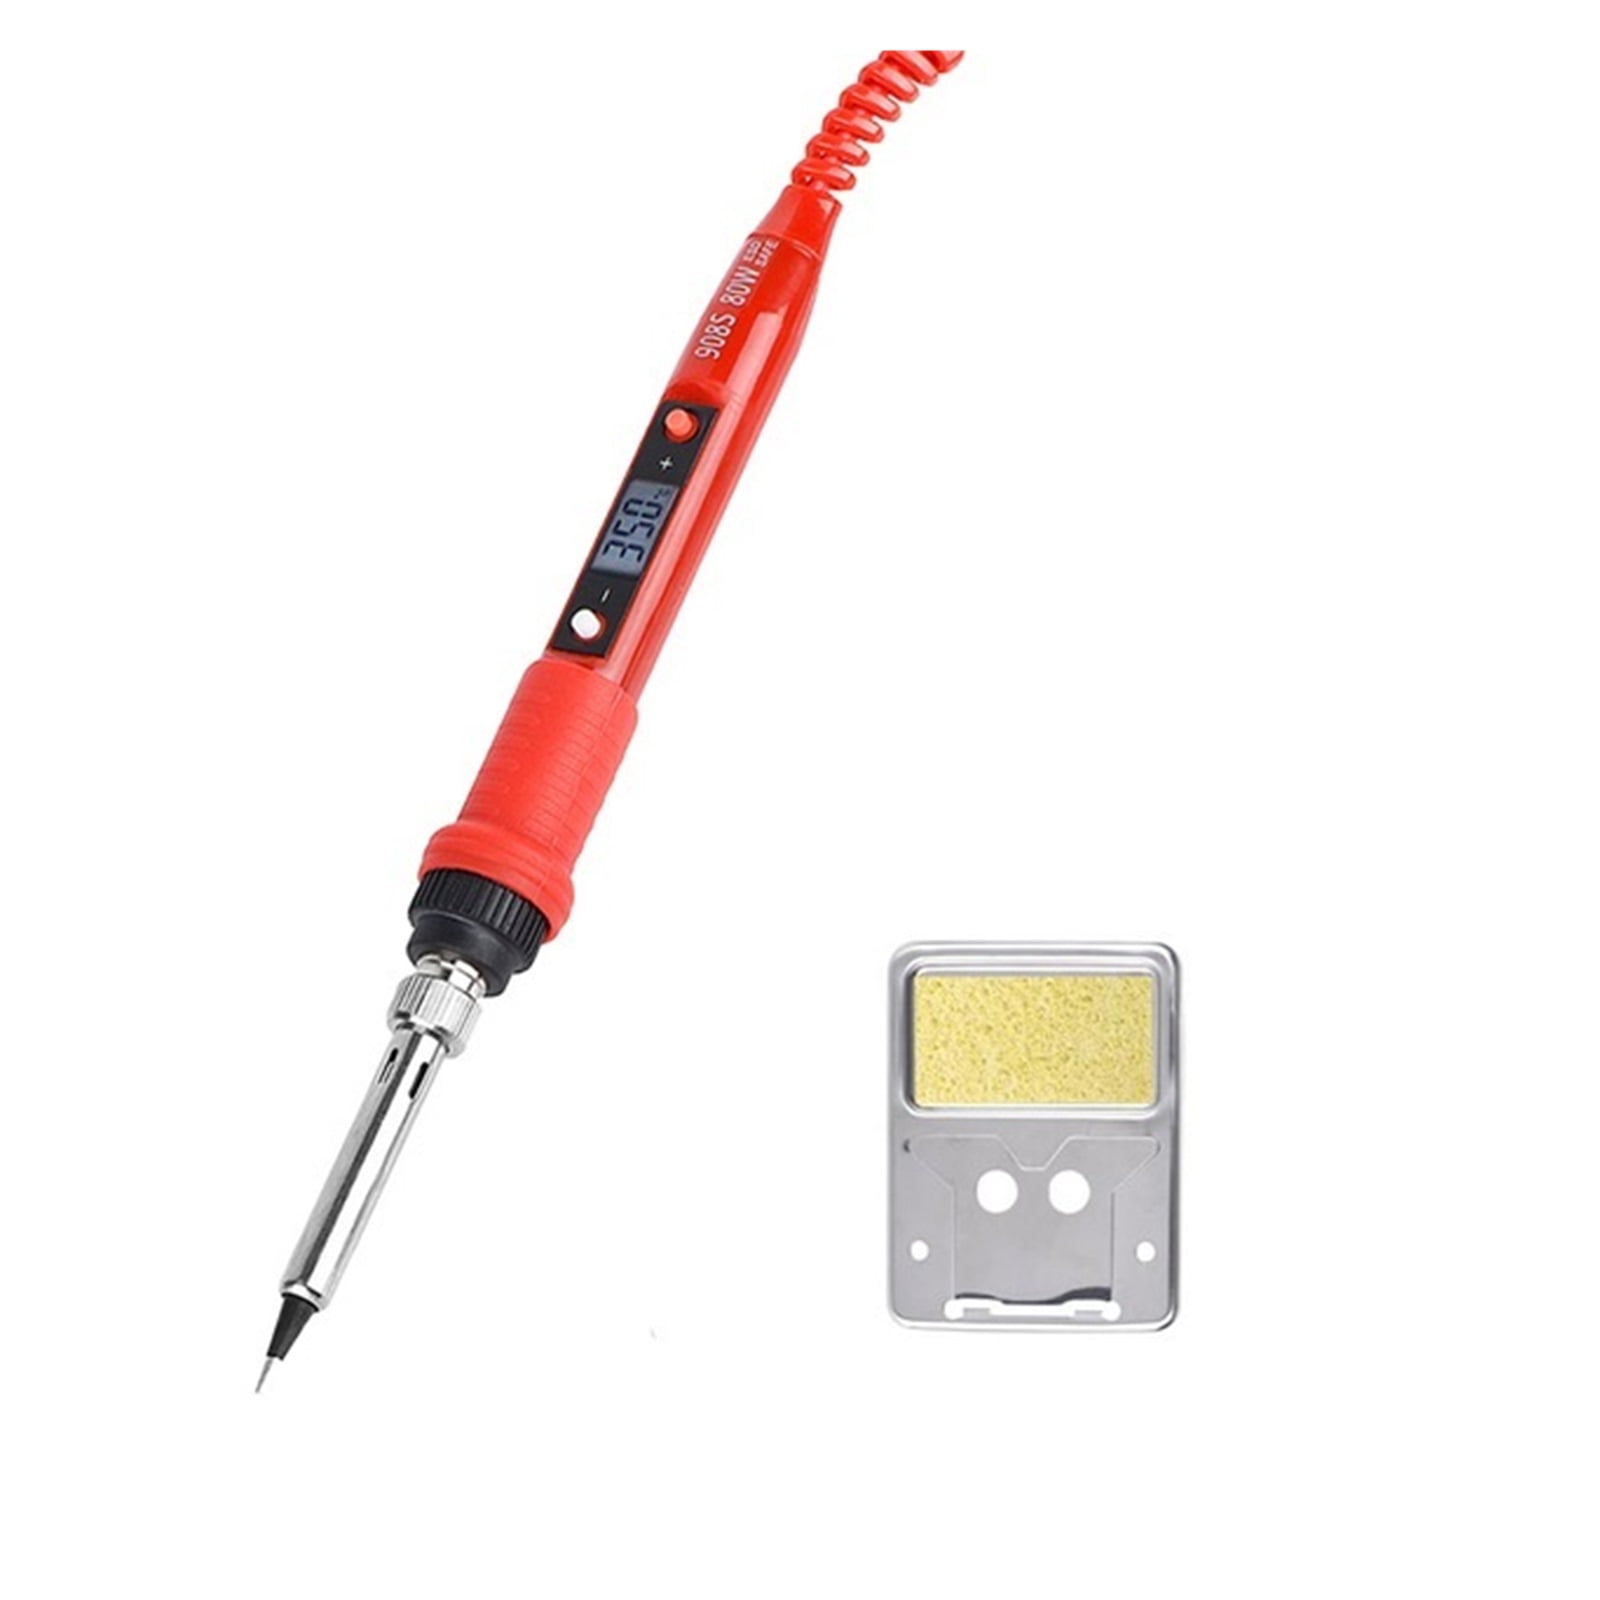
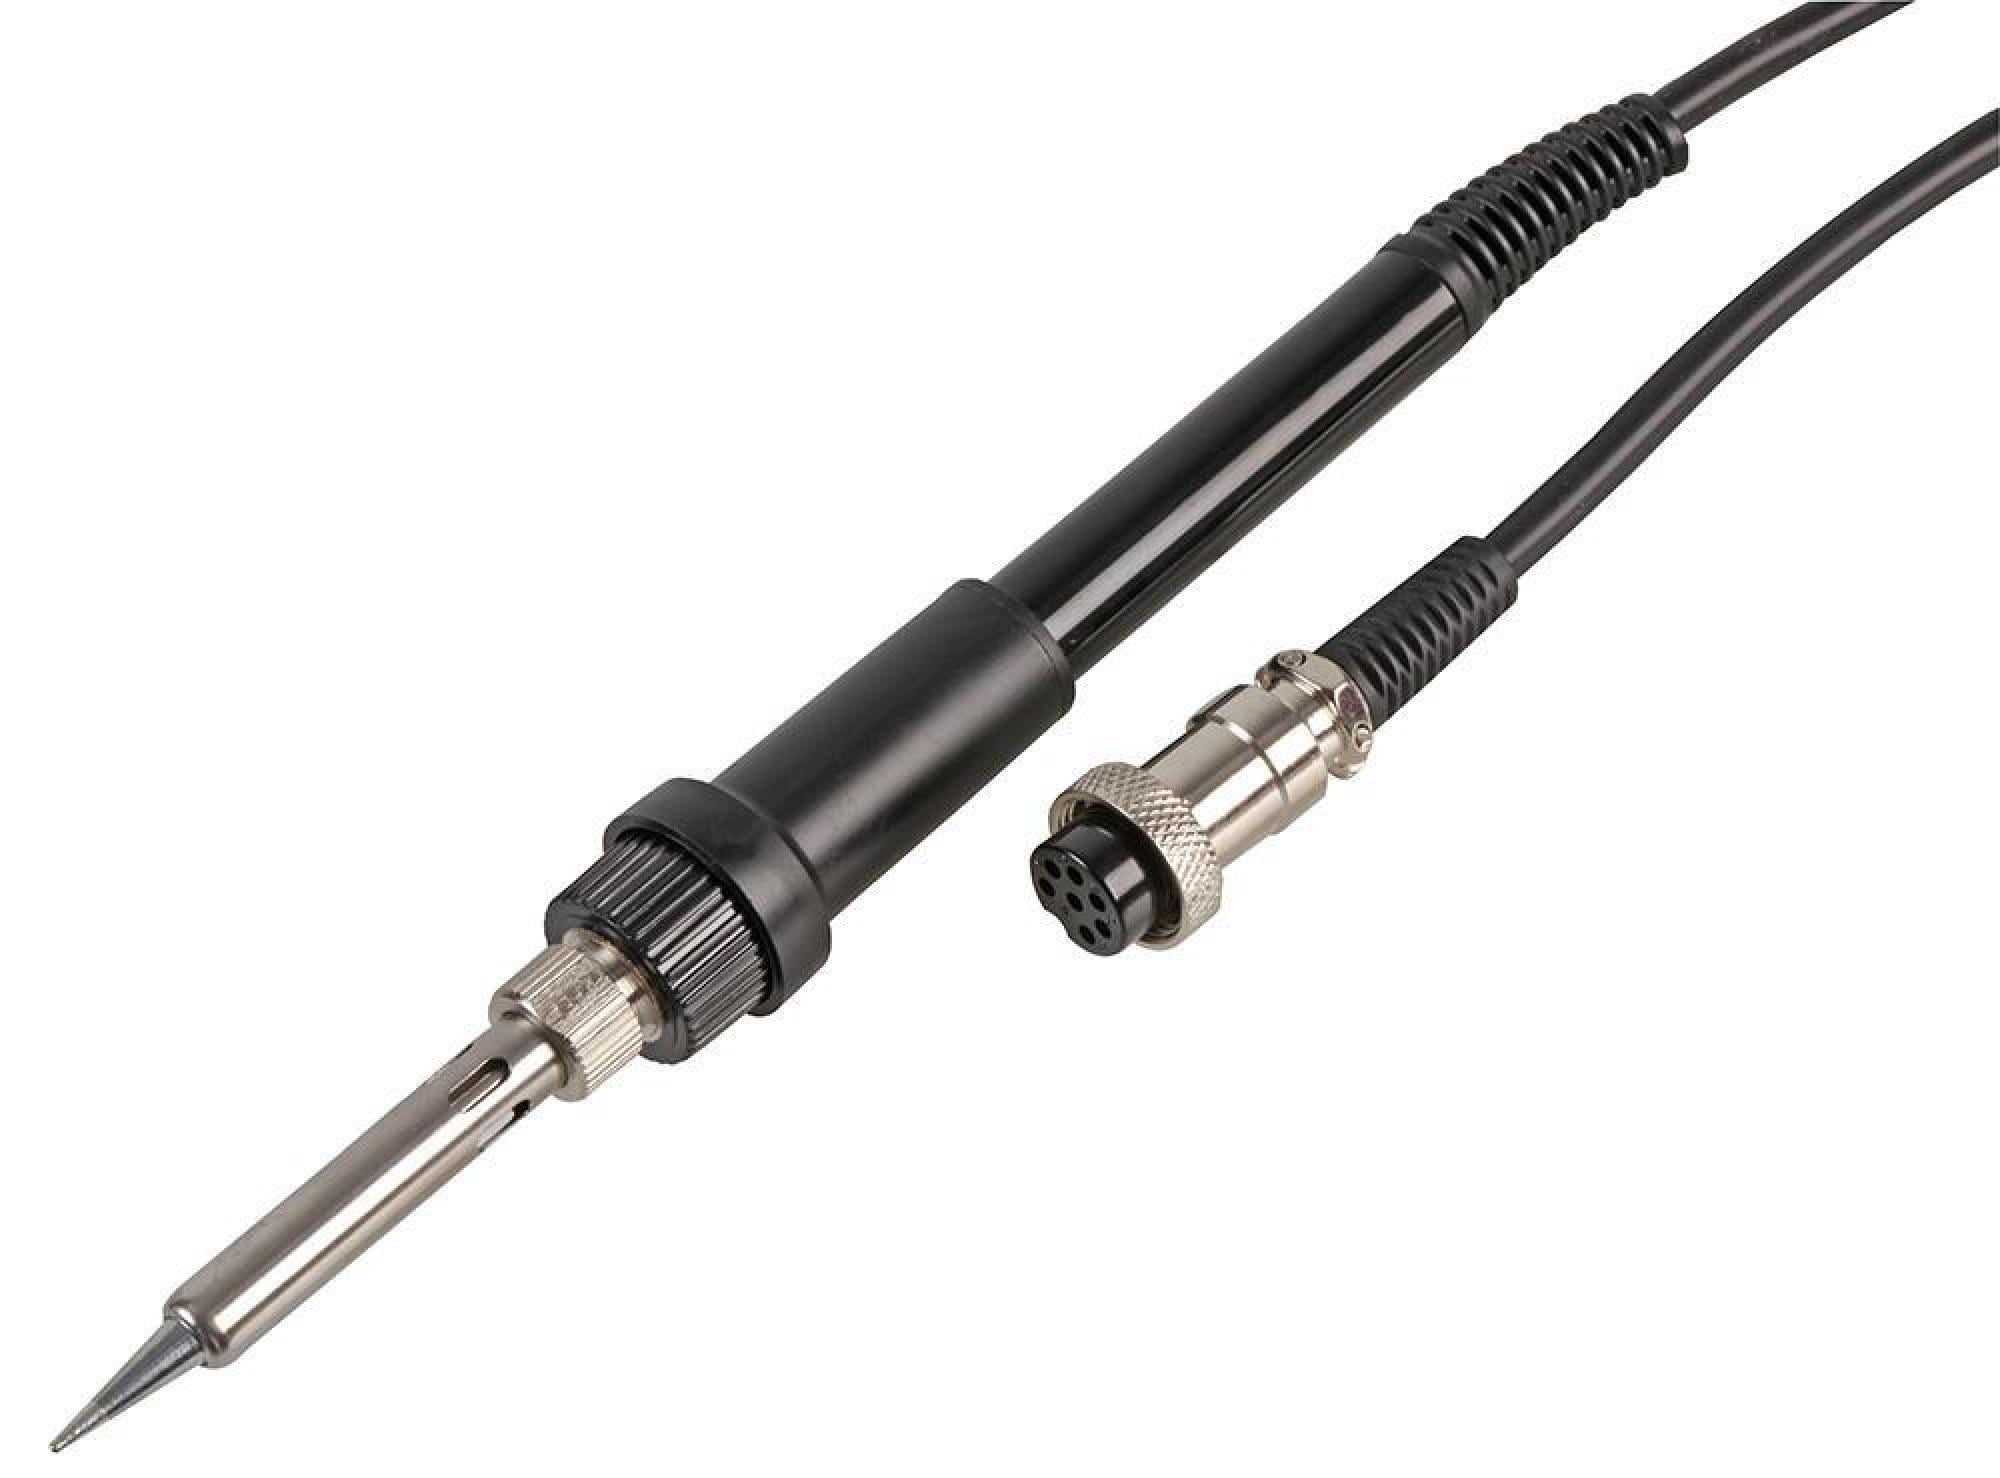
<p>Unlock your creative and repair potential with our professional soldering iron kit. Engineered for precision and thermal stability, these soldering kits are essential for engineers, hobbyists, and DIY enthusiasts working on circuit boards, home appliance repairs, and jewelry making. Featuring an advanced internal-heated ceramic core, our soldering irons reach their operating temperature in seconds, providing a consistent heat flow that ensures smooth, high-quality solder joints every time. </p><p> </p><p>Our comprehensive soldering iron kits are designed as "all-in-one" solutions, typically including a temperature-controlled iron, a variety of interchangeable tips, a sturdy safety stand, and high-quality desoldering tools. With adjustable temperature settings and a heat-resistant, anti-slip handle, you can tackle delicate micro-electronics or larger wire splicing with equal confidence. Built with safety in mind and often featuring an automatic sleep mode, our tools deliver the professional performance and reliability required for both intricate lab work and rugged home repairs.</p><p>Welding repair tools</p><p>How to use a soldering iron</p><p>1. Preparation tools: electric soldering iron, solder wire, rosin;</p><p>2. The newly bought electric soldering iron can hang the soldering iron head with a knife (because there is an oxide layer), and then in the power. Be careful that the temperature is very high when you in the power;</p><p>3. When the temperature of the soldering iron comes up, put rosin on the tip of the soldering iron and solder;</p><p>4. First put rosin on the wires that need to be welded, and then solder on the dots;</p><p>5. Then solder on the components that need to be soldered, pay attention to the speed, otherwise the components will be burned if the temperature is too high;</p><p>6. When the soldering iron is not in use, put solder on the tip of the soldering iron (to prevent the soldering iron from drying);</p><p>7. Use rosin as the flux as much as possible, and the solder paste will be a little corrosive;</p><p></p><p>Precautions for using electric soldering iron</p><p>1. Before soldering, the excess part of the lead wire of the component should be cut off and tinned. If the surface of the component is oxidized and not easy to tin, you can use fine sandpaper or a knife to clean the surface of the lead, and use a soldering iron tip to dip an appropriate amount of rosin core solder to tin the lead.</p><p>2. When soldering, place the lead wire of the component with tinned tin on the position to be soldered, such as the pad hole of the printed board or the small hole of the solder piece of various joints, sockets and switches, and use a soldering iron tip with an appropriate amount of tin on it. The soldering part stays for about 3 seconds, and after the soldering iron is removed, a smooth solder joint is formed at the soldering part.</p><p>3. After welding, carefully observe the shape and appearance of the solder joints. The solder joints should be hemispherical and the height is slightly smaller than the radius. They should not be too bulging or flat. The appearance should be smooth and uniform without obvious pores or depressions, otherwise it will easily cause false or false welding. When welding the leads of several components at the same time, more attention should be paid to the quality of the solder joints.</p>
- Compared to a soldering iron station, our torch kit is portable.
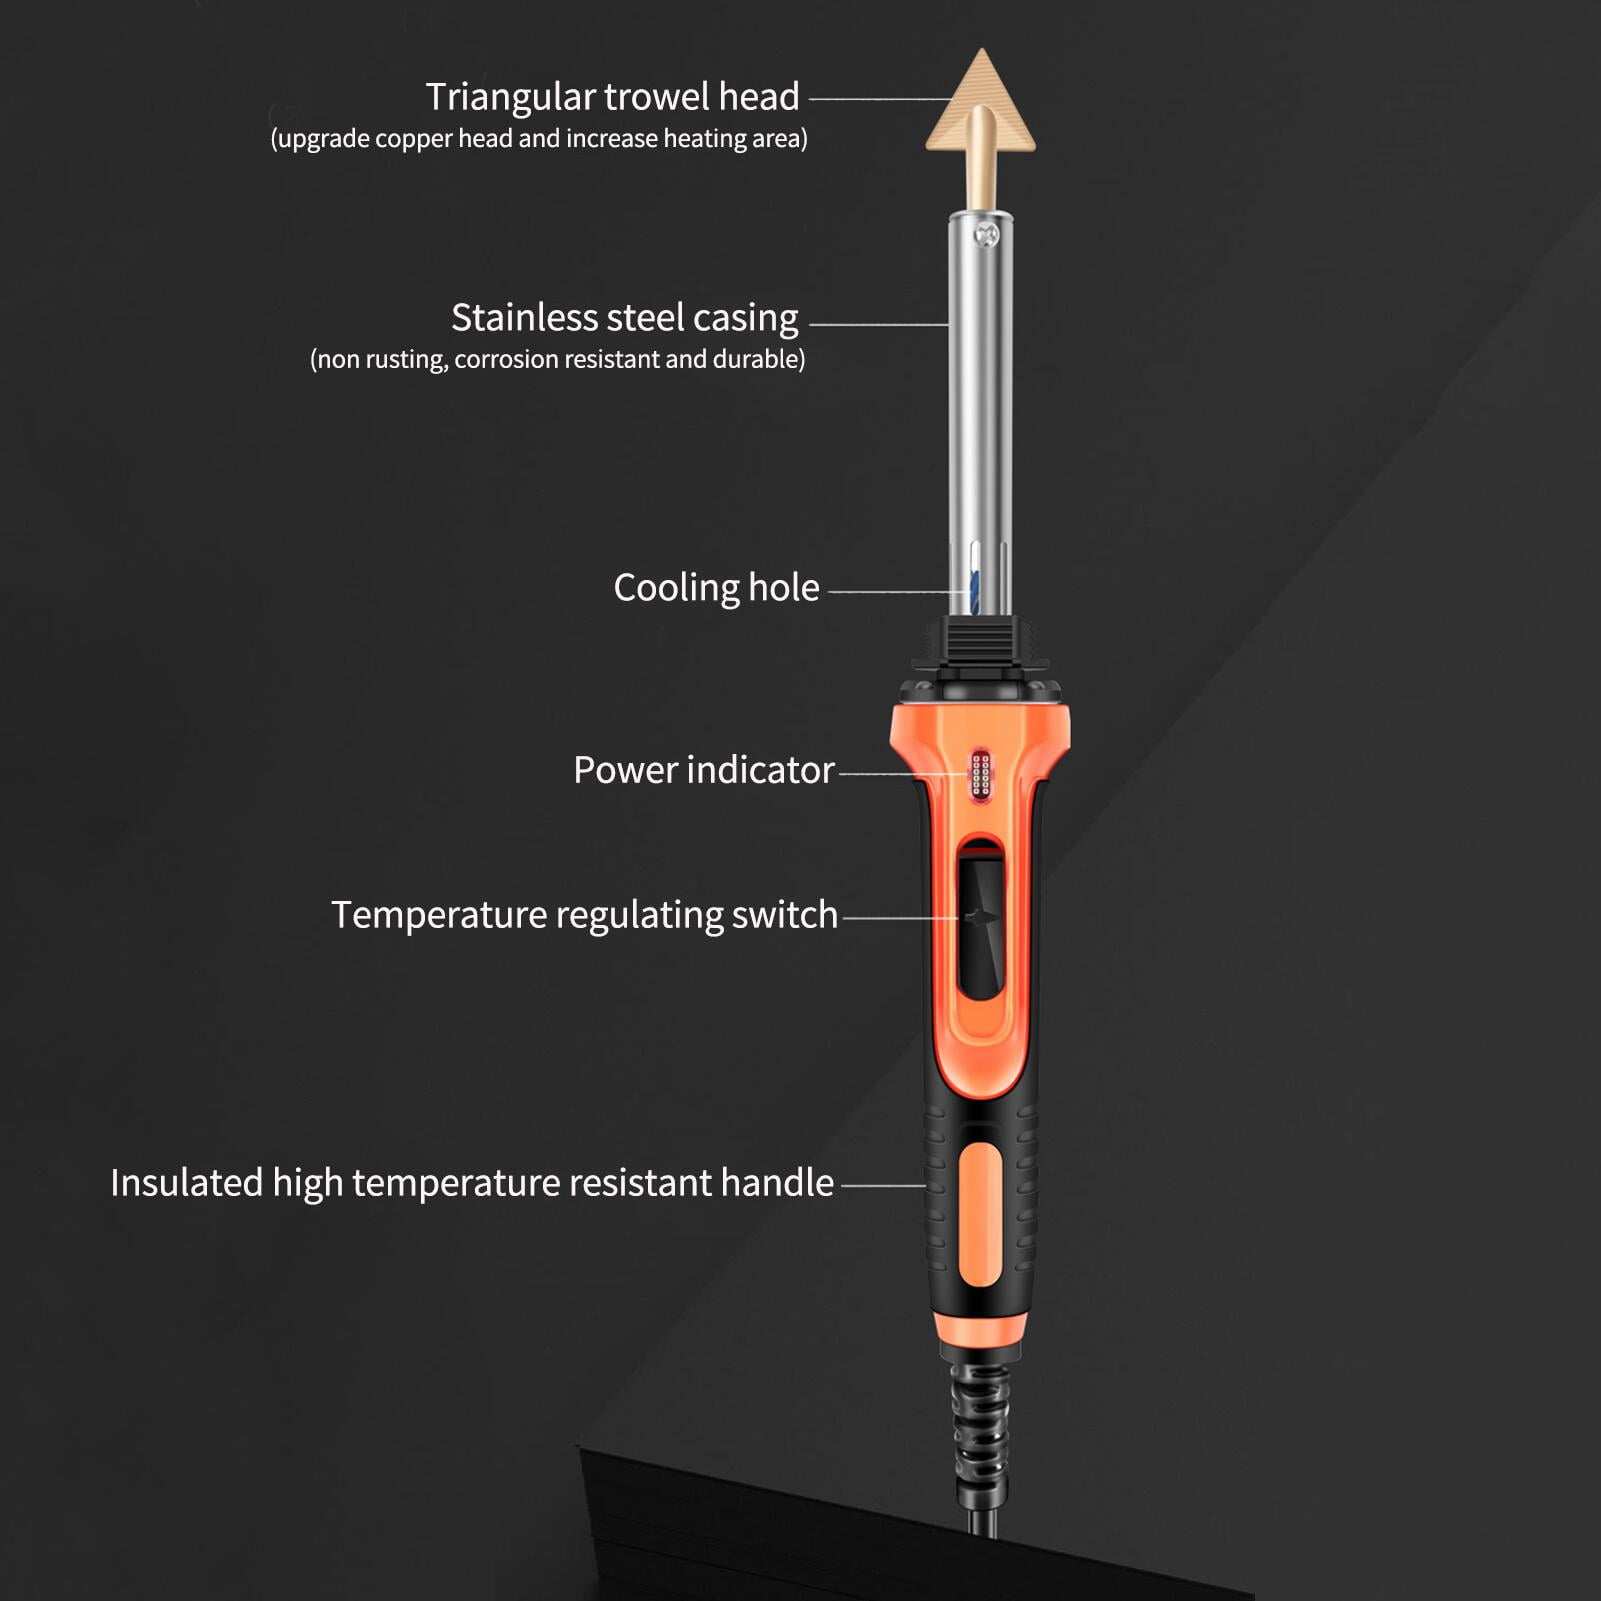
- Insulated silicone handle, compact and lightweight design, fast heat dissipation, allowing you to use the soldering iron for a long time.
- With internal heating ceramic technology, it heats up quickly and the temperature is stable, which can protect your welding objects.
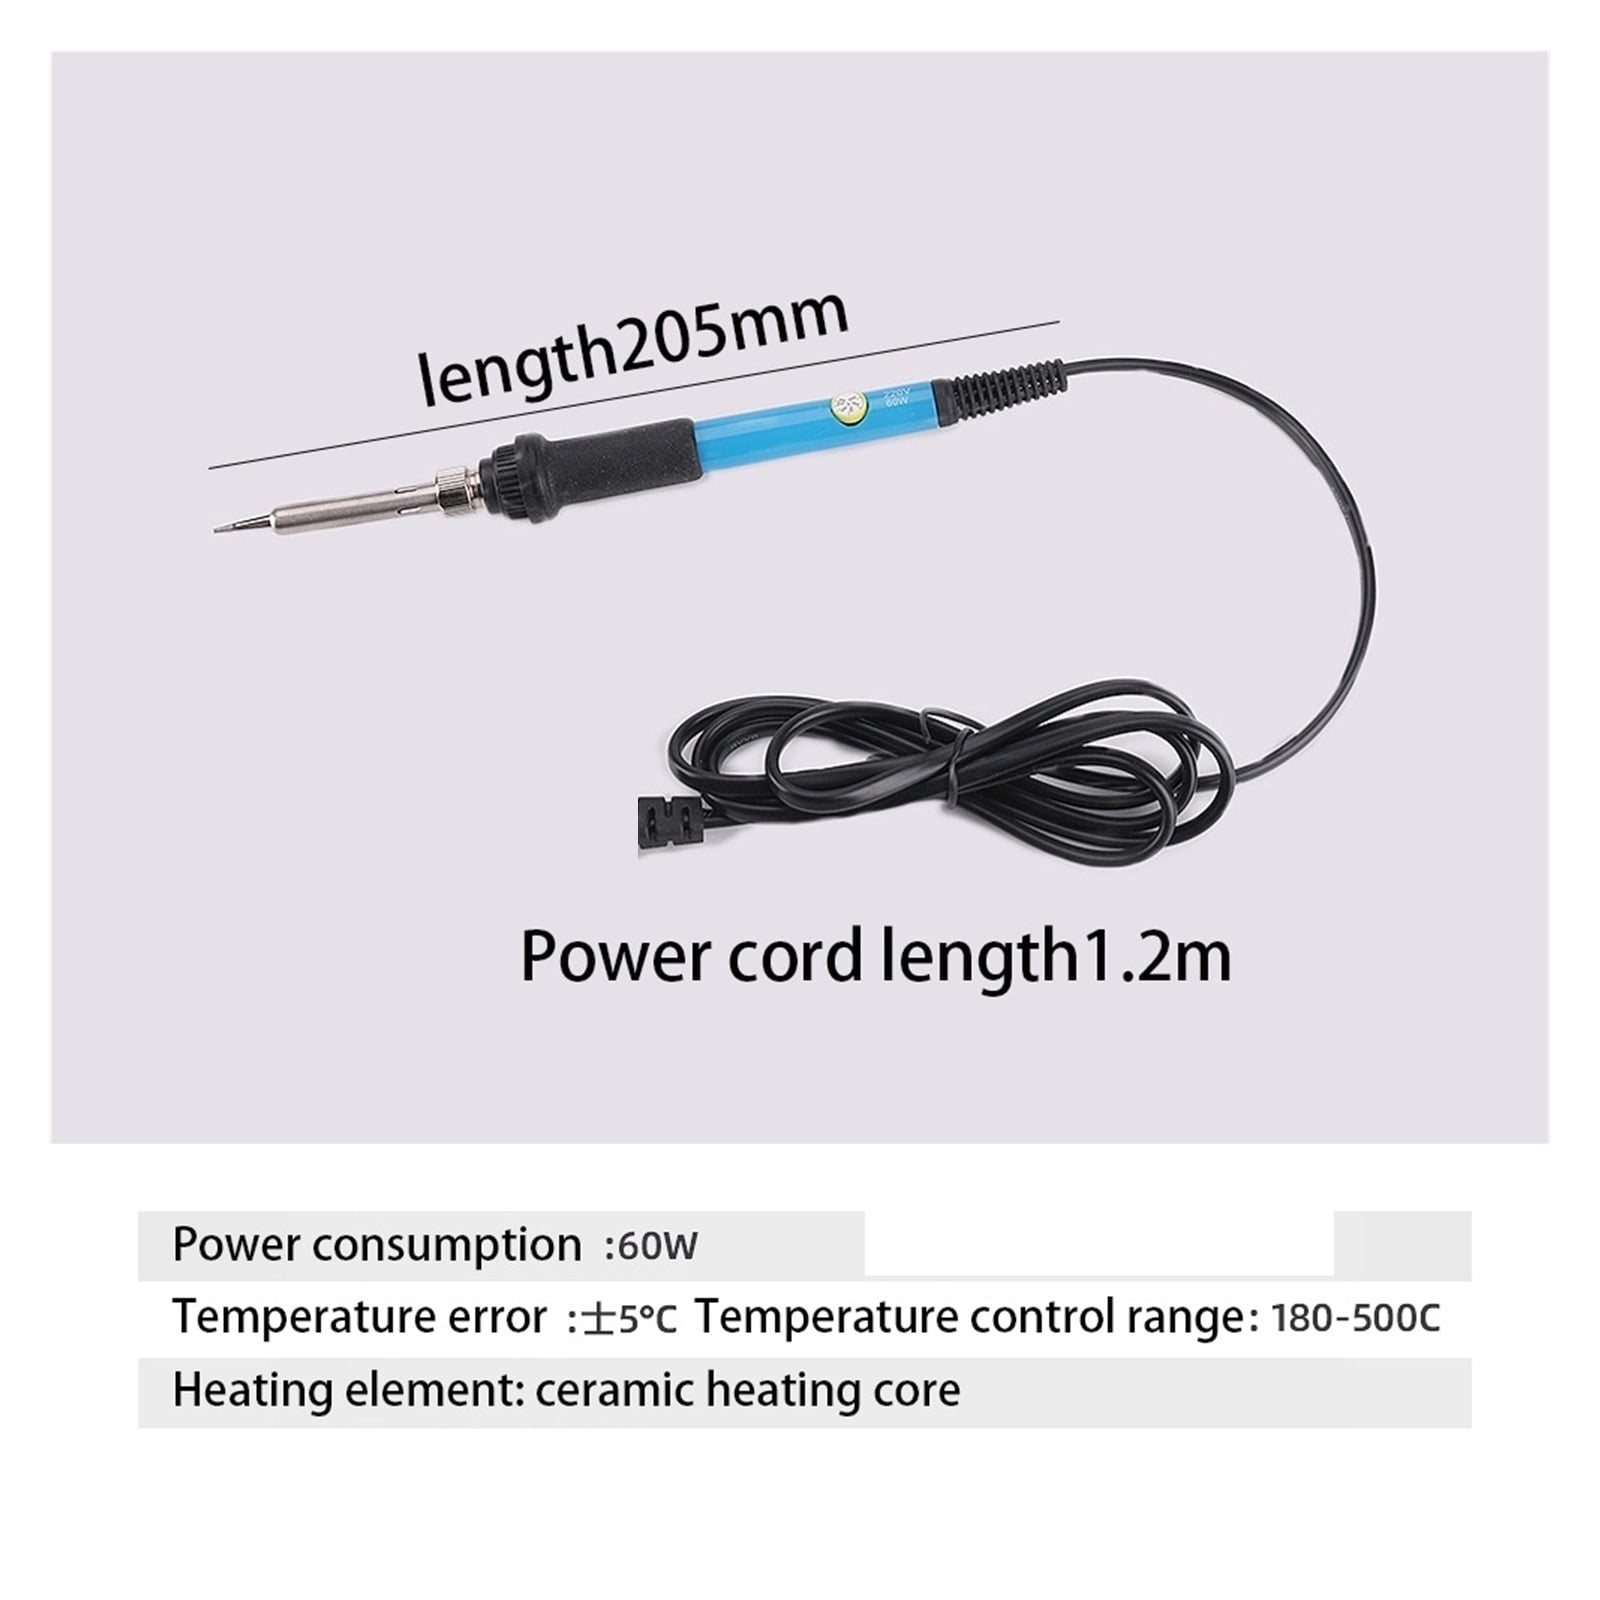
- Four vents on the tip and four vents on the pipe provide better heat dissipation than other vents. The power consumption is lower than that of ordinary soldering irons, and it is more energy-saving and environmentally friendly.
- Soldering iron tools are a good choice for soldering circuit boards, home DIY enthusiasts, electrical repairs, jewelry soldering. Easy to use no matter what you choose
| Brand | LuckyBliss |
|---|---|
| Rec. use | Commercial |
| Accessories | See Specifications |
| Weight | 0.04 oz |
| Dimensions | 1.00 x 1.00 x 1.00 cm |
| Has written warranty | No |
| Count | 1 |
Bestseller ranking
Soldering Irons
Customers who viewed this product also viewed
Wall Planters


Correction of product information
If you notice any omissions or errors in the product information on this page, please use the correction request form below.
Correction Request Form